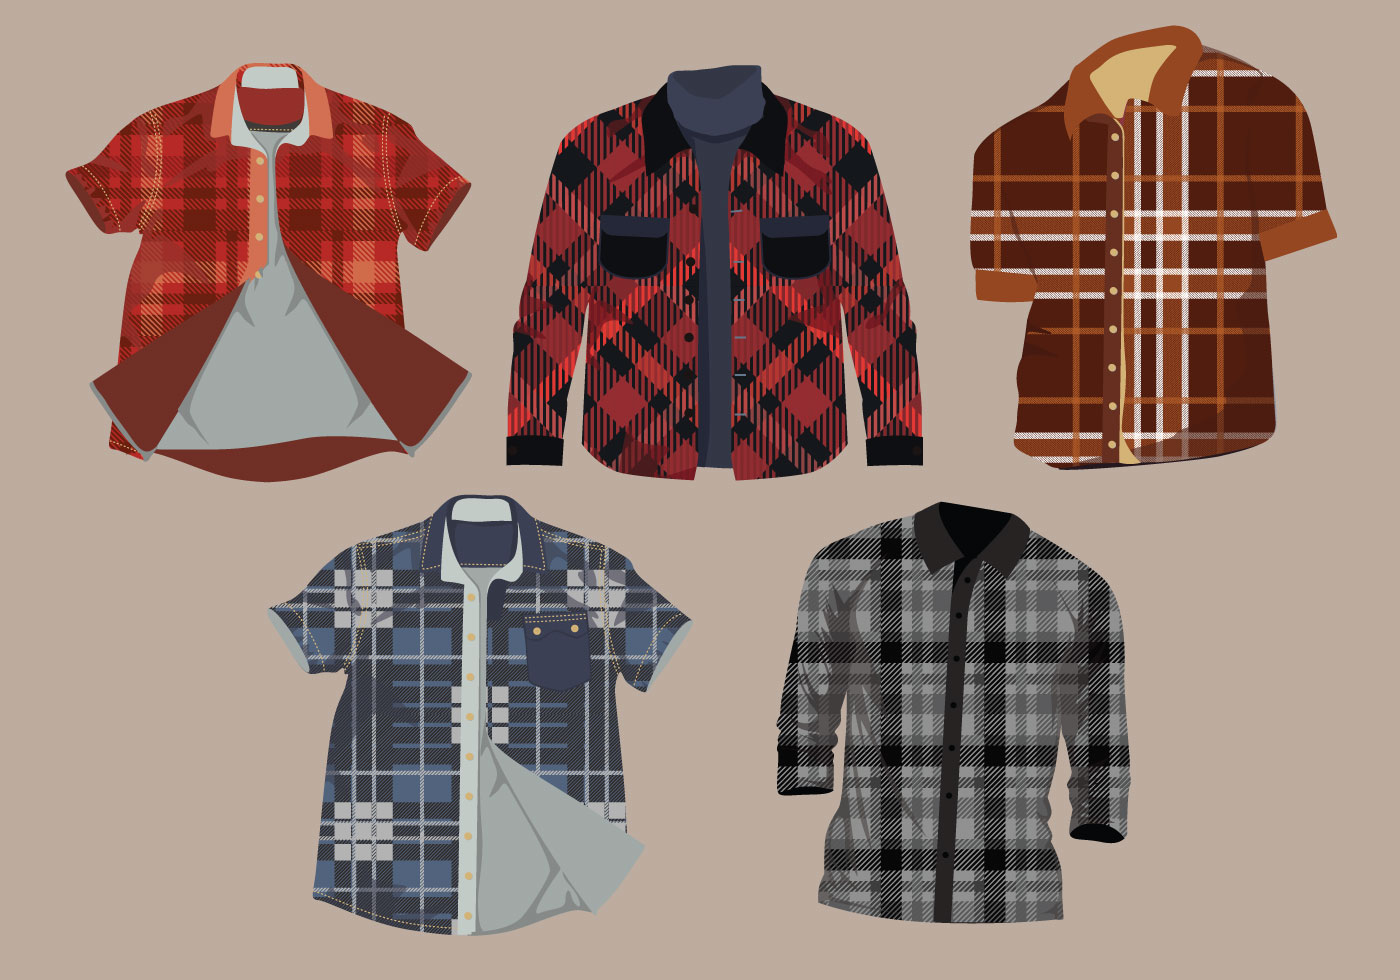
Flannel Shirt Sewing Pattern
Well, hey there all you crafty cats and kitties! Today, we've got a Sew-a-long that's gonna knock your socks off. It's all about DIY Flannel Shirts, baby!

Now, I know what you're thinking. "But wait a minute, I don't know how to sew!" Well, don't you worry your pretty little head, because we're gonna take you through this step by step.
Description:
This DIY Flannel Shirt is perfect for those chilly fall evenings, or even colder winter nights. It's an easy-to-wear design that looks cute and trendy, all while keeping you warm and toasty.
Materials:
- Flannel fabric (2-3 yards depending on your size)
- Thread (in a matching color)
- Sewing machine
- Pins
- Scissors
- Tape measure
- Ruler
- Iron
- Ironing board
Pattern sizes:
To get started, you'll need a pattern. You can either create your own, or you can use a pre-made one. We recommend using a pre-made pattern to make sure everything fits correctly.
The pattern sizes will vary depending on the size of the shirt you want to make. Generally, a small will require 2 yards of fabric, medium will require 2 1/2 yards, and a large will require 3 yards.
How to:
Now, let's get started on the Sew-a-long! Follow these simple steps below:
Step 1: Cut your fabric
Lay your flannel fabric out flat and use your tape measure and ruler to mark and cut out the pieces for your flannel shirt, including the sleeves and collar.
Step 2: Pin the pieces together
Once you have all of your pieces cut out, you'll want to pin them together. Start with the sleeve seams, then pin the collar, and finally pin the front pieces and the back together.
Step 3: Sew it together
Now it's time to put your sewing machine to work! Sew the sleeves together, then the collar, and finally the front and back pieces together. Be sure to follow the instructions on your sewing pattern carefully, and don't forget to backstitch to keep your seams in place.
Step 4: Finish the flannel shirt
Once all of the pieces are sewn together, it's time to finish the flannel shirt! Use your scissors to trim any loose threads and then iron your shirt to give it a crisp, polished look. Voila! You've made your very own DIY Flannel Shirt!
Now, remember, practice makes perfect. Don't get discouraged if your first attempt isn't perfect. Keep trying and before you know it, you'll be sewing like a pro! Happy crafting, my friends!