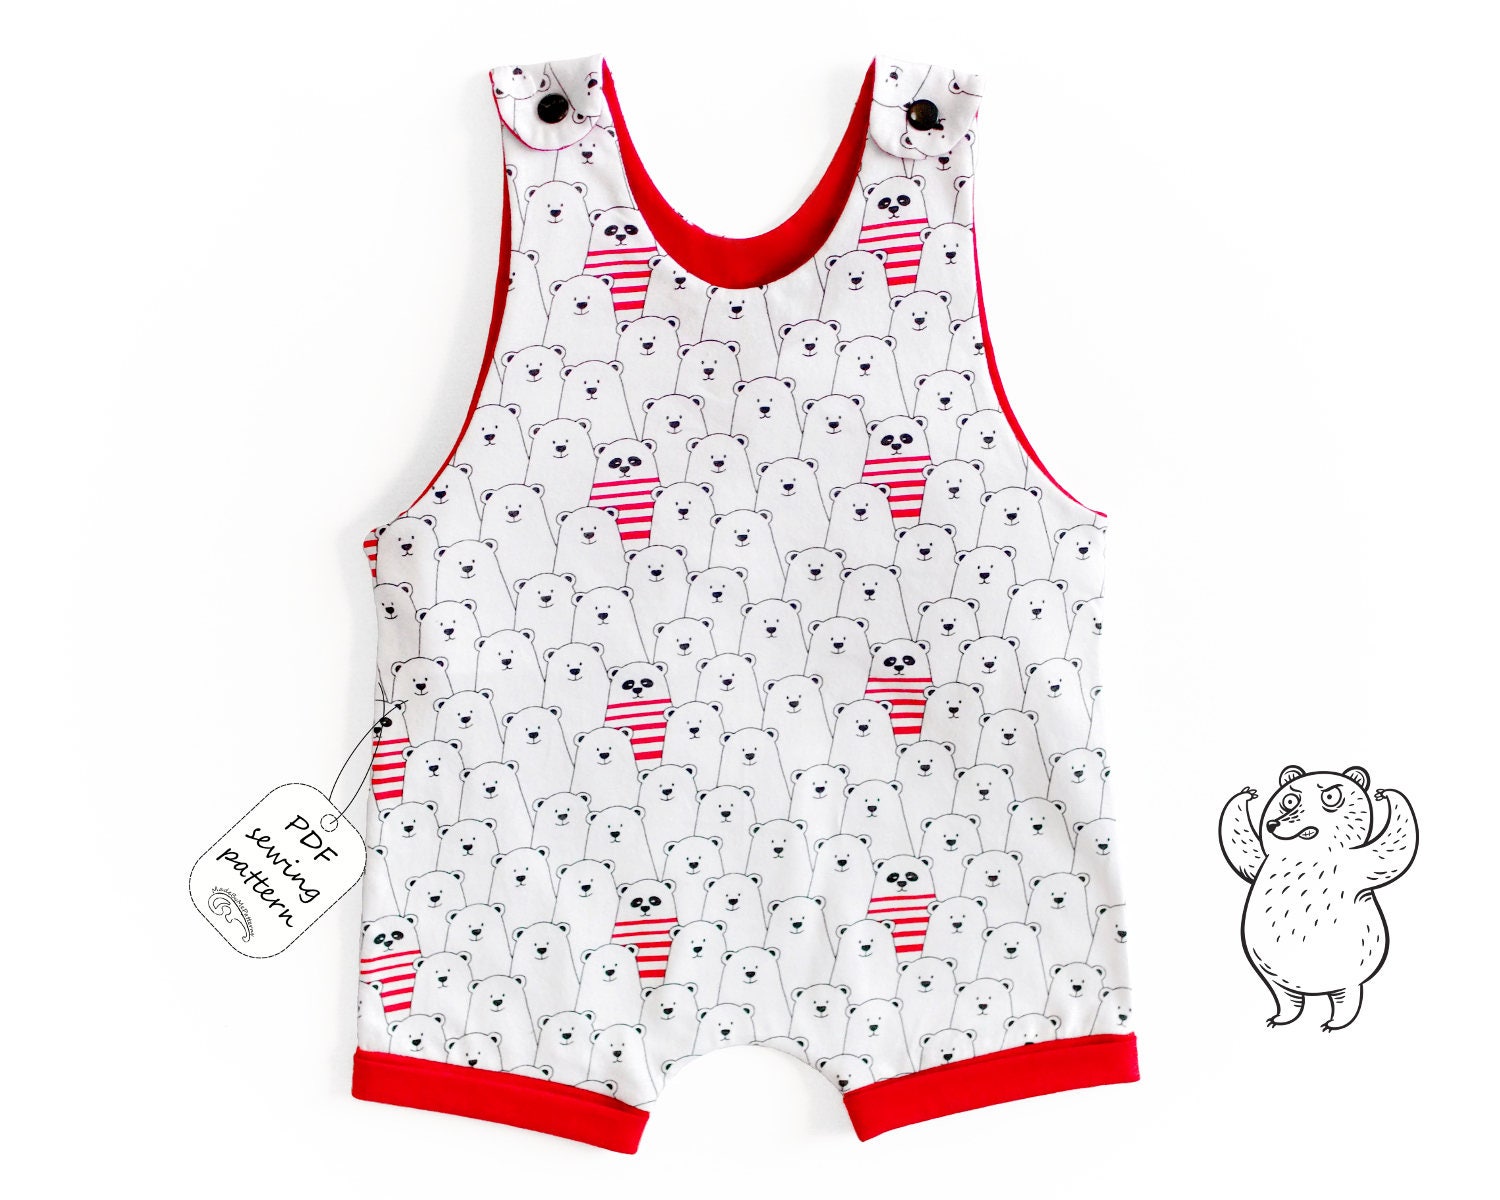
Romper Sewing Pattern
If you're looking for a free romper sewing pattern and step-by-step video tutorial, you've come to the right place. This pattern is perfect for anyone who wants to create their own unique and stylish romper. It's also a great way to show off your sewing skills!

In this article, we'll show you everything you need to know in order to create your own romper using this free pattern. You'll learn about the materials you'll need, as well as the sizes available. We'll also guide you through the step-by-step process of creating your own romper masterpiece.
Description
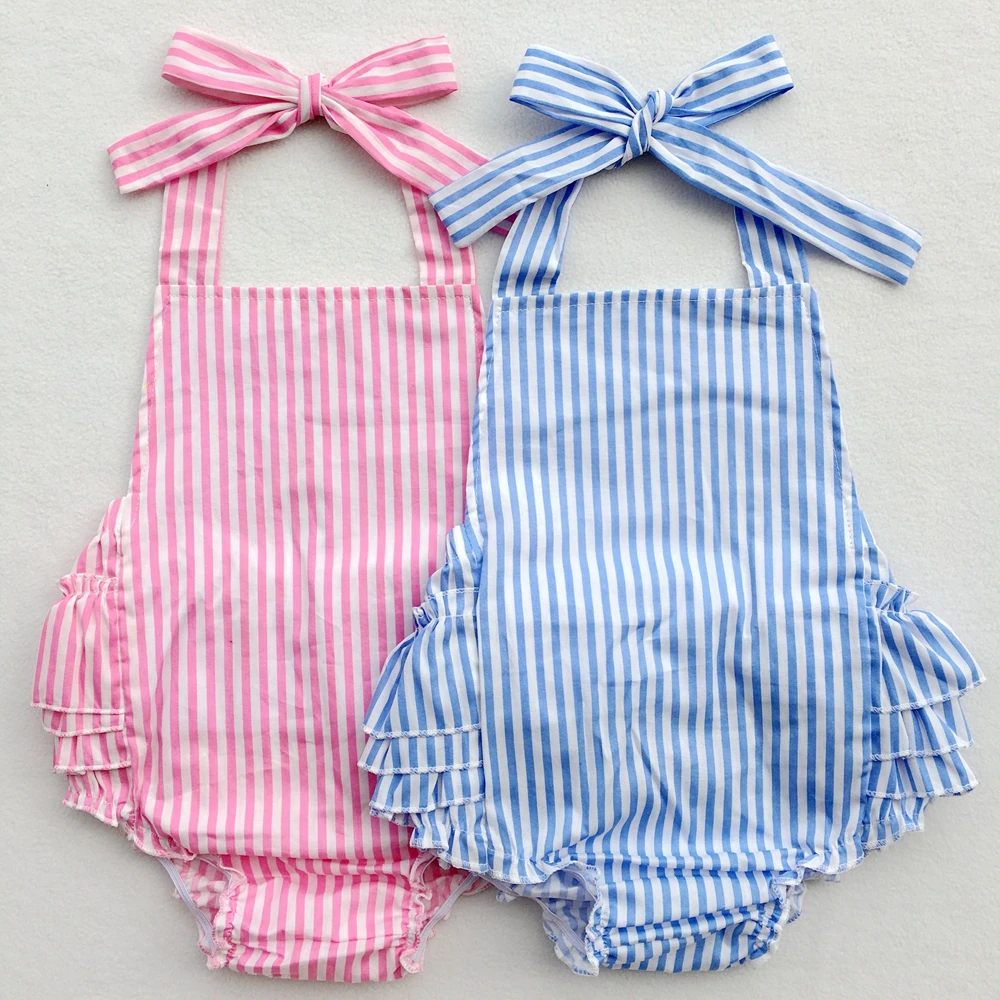
Rompers are a versatile and stylish piece of clothing that can be worn in a variety of different ways. They're perfect for a summer day out with friends or even a casual day at work. This pattern is designed to be easy to follow, so even if you're a beginner sewer, you should be able to create your own romper with ease.
Materials
- Fabric of your choice
- Elastic
- Thread
- Scissors
- Pins
- Measuring tape
- Sewing machine
The materials needed to create this romper can be found at most craft stores. You can choose any fabric you want, but we recommend using a lightweight cotton or linen. These fabrics are perfect for summer clothing as they're breathable and comfortable to wear.
Pattern Sizes
This pattern comes in a range of sizes, so you can choose the one that best fits you. The available sizes are:
- Small
- Medium
- Large
Each size is clearly marked on the pattern, so you can easily determine which size you need to use.
How To
Now that you have all the materials and pattern available, it's time to start the process of creating your romper:
- Begin by printing out the free romper sewing pattern, which can be found online.
- Take your measuring tape, and measure your waist and hips. Compare your measurements to the size chart provided in the pattern to determine your size.
- Cut out the pattern, making sure you follow the lines for your chosen size.
- Take your fabric and fold it over, making sure the right sides are facing each other. Pin the pattern to the fabric, making sure it's aligned properly.
- Cut out the fabric around the pattern, making sure to leave a seam allowance.
- Take the front and back pieces of the romper and put them together, making sure the right sides are facing each other. Sew the inseam together.
- Attach the top of the romper, starting with the shoulder seams.
- Take your elastic and measure your waist. Cut the elastic to the appropriate length and sew the elastic onto the waist of the romper, making sure the fabric is gathered evenly.
- Attach the hem to the bottom of the romper, and you're done!
Following these steps should result in a beautiful and unique romper that you can wear to any occasion. If you're having any trouble following these steps, don't be afraid to reach out to other creators online. There are plenty of forums and social media groups that are dedicated to sewing, so don't hesitate to ask for help.
Now that you know how to create your own romper using this free sewing pattern, it's time to get started. Not only is creating your own clothes fun and rewarding, it's also a great way to express your personal style. So what are you waiting for? Start creating your own romper today!